вторник, 16 июня 2015 г.

Painted Rug


I am still working on my basement Craft Room. Spending as little as possible is my goal in this space as there will be future renovations. I want to use the space sooner than that so this is another one of my DIY projects. The floor in this space is just about as awful as the ceiling was. So what to do?The upstairs office rug (which should have been on its way out long ago) was moved to the basement and had a date with a roller and paintbrush.


Painting a rug is something I have never tried before and if this does not work I won't be out much except 1/2 gallon of paint.
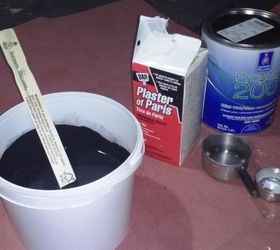
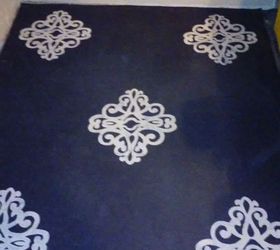
Sherwin Williams - Tricorn Black SW 6258 is my choice for the main body of the rug. Most tutorials recommend using chalk paint (it makes the surface a little less stiff) so I mixed up 1/2 gallon of paint, 1 cup of water and 1/3 cup of Plaster of Paris. That is my chalk paint recipe.


a painted rug, crafts, reupholster


A plastic drop cloth was placed under the rug in case the paint bleeds through.
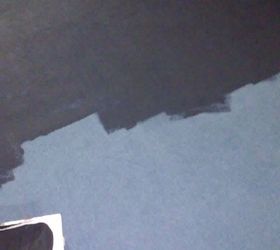
The body of the rug will be rolled using a 9" x 1/4" nap cover and I am making sure to soak it well with paint so it won't need a second coat. Here is the rug halfway completed. I am already liking the difference :)


a painted rug, crafts, reupholster


It was checked after 2 days of drying and still felt a little damp so 2 more days were necessary to make sure it was completely dry and ready for the designs.
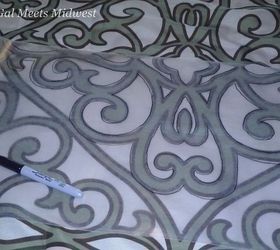
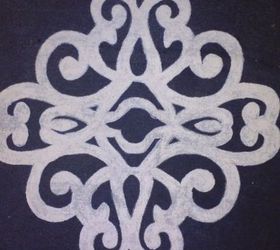
I knew what I wanted the rug to look like but was coming up empty on ideas to make it happen. I kept looking around the house and then there it was, the design on my master bedroom comforter. It would be perfect to create the look I was going for.
Wax paper would work to lay on top of the comforter since it is transparent and a black sharpie for tracing. Since the wax paper was only 11.9" wide and the stencil
was almost twice that, I had to trace twice and piece together with tape to make one whole template.


a painted rug, crafts, reupholster


The template was taped to the rug to secure it so the outside could be traced with a white chalk marker. One stencil was done in each corner and one in the middle of the rug


a painted rug, crafts, reupholster


The inside was then cut out along my lines with an
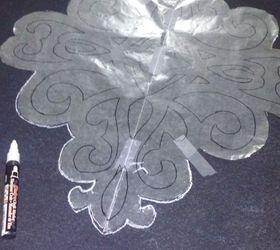
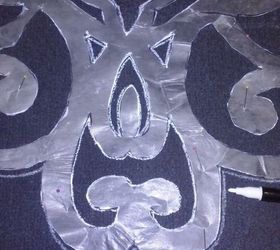
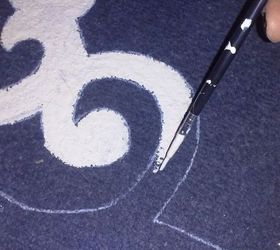
exacto knife. I placed it back on the rug to trace the interior design and decided to pin it this time cause it was very thin and moved around too easily.
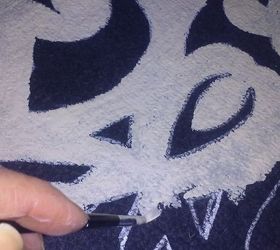
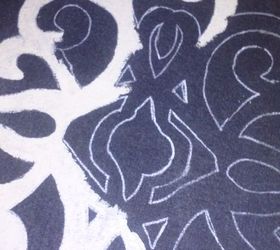
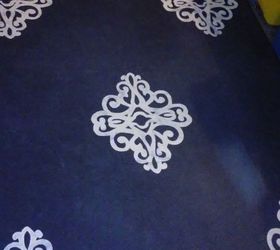

a painted rug, crafts, reupholster


I mixed some neutral paint that I had on hand the same way with the chalk recipe and a small brush will be used to hand paint inside the design that was traced. So it was time to get started.
I painted...


a painted rug, crafts, reupholster


and painted.....


a painted rug, crafts, reupholster


paint, paint, paint....


a painted rug, crafts, reupholster


My biggest challenge was staying in the lines and not having drips everywhere. Touch-ups were made with leftover black paint and believe me, there were a lot of touch-ups.


a painted rug, crafts, reupholster


This is a completed stencil....there are 5 in all.


a painted rug, crafts, reupholster


Getting the rug into my craft room has made a huge difference in the way it looks.


a painted rug, crafts, reupholster


I would estimate the time I spent on this project to be about a week...that includes drying time.


a painted rug, crafts, reupholster


I am very happy with the end result. My space has a nice floor covering without the big price tag and I kept an old rug from going to the landfill :)


a painted rug, crafts, reupholster


Original article and pictures take http://www.hometalk.com/14180052/a-painted-rug site


Комментариев нет:

Отправить комментарий