Hello there! A couple of people have asked about how I do this process. Here's a quick tutorial on two different projects so that you can see (hopefully) how I accomplished the stain shading effect.This is the finished of the double exposure rose on an old cupboard door. My inspiration image.
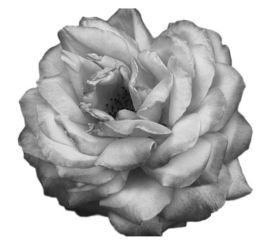 For this piece, I wanted a "double exposure" effect. I created this image just enlarging the original photo and lightening it up as the background.
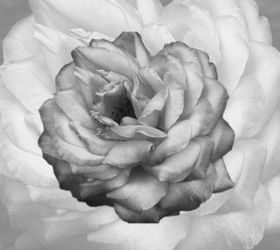 I first started with an old cupboard door. I painted with chalk paint (two coats). I then distressed just a little (which I really didn't need to do. I guess if I was going to distress, I should have either done it or not -- not just the little bit i did. haha). At any rate. I then get my design together and used carbon paper to transfer the outlines to the door.
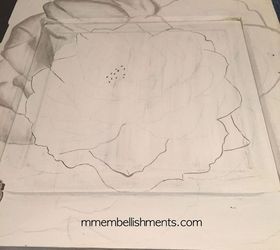 So I started with the "background" layer, which I wanted to be lighter. So I used Minwax Grey stain (instead of my usual Ebony). I start with the lines. With this staining technique, anything that you want to be darker should sit longer so it absorbs. This is where you can run into problems, as you don't want those lines to be too defined. The answer to this is that you can go back and add stain to "wet" the original so that you can shade it out. It's a little tricky at first to get the feel for it, and I especially did not like the grey stain to work with as well as the ebony. So, I couldn't want to get to the inner layer...
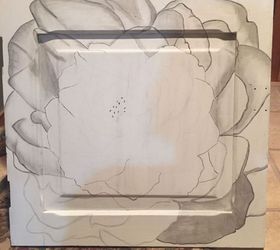 I'm constantly looking back at the picture to add more shading. If I screw up, I just go with it and create a little free hand design :).
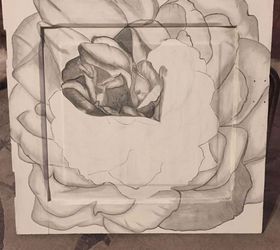 I sometimes tend to go a little darker in an area. But I did want the inner rose to be darker to stand out from the outer layer. The process is just a matter of drawing out the stain with your brush... start with the darker area and pull it out. After it dries, you can go back in for the detailing of the petals
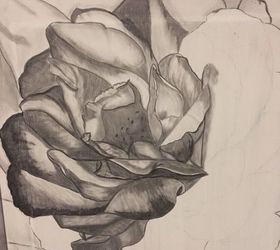 And this is the finished piece.
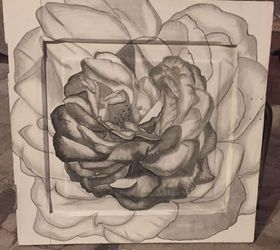 Here is the 2nd piece. This little table had a sun spot on the top. I started with sanding it down.
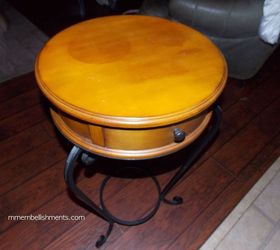 Inspiration image
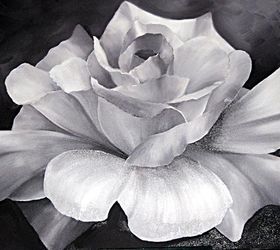 Again, I used white carbon paper to transfer the image. I started with the center and let that sit to settle in to the wood. Again, I start with the lines of the petal and then the darker areas and draw the stain out.
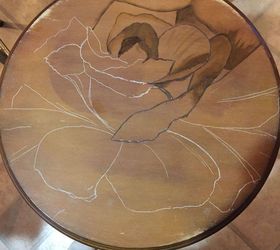 Once again, I am constantly looking back at the photo inspiration so that I get the shading right.
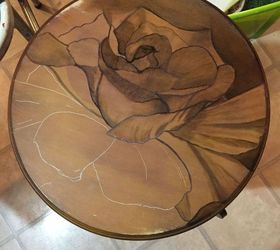 This piece was a little difficult for me to get the outside shading right with no streaks. I did keep the shading around the outside edge of the rose darker for shadow (not a lot).
 After I get all done, I go back in with rub and buff black and just add a little dimension to the really dark parts. I try not to shade this out to much. It's just for extra depth. The last couple of pictures wouldn't load for this. I hope you can get the idea! To see more of my work you can check me out at www.mmembellishments.com
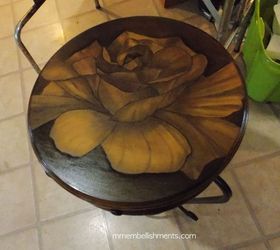
Original article and pictures take http://www.hometalk.com/14270686/stain-shading-tutorial site
Комментариев нет:
Отправить комментарий