If you are like me, you may have some empty tin cans around your home. I added some scrapbooking paper, a cute knob and a chalkboard label to these cans, and now they are adorable additions to my kitchen. They make excellent storage containers for organizing a kitchen.
I will provide you with a quick tutorial of how to create these containers, but for more details about this project visit my blog linked below.
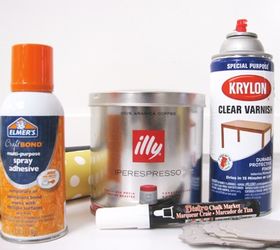
Materials Tin can with lid Scrapbook paper Spray adhesive Clear Varnish Chalkboard sticker paper/template Chalkboard pen Knob
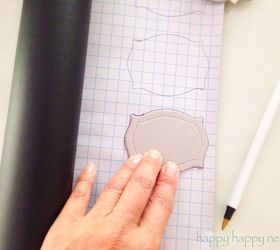
First, cut out your paper to size. Apply a couple coats of varnish to both sides of your paper. This will protect your paper from minor stains.
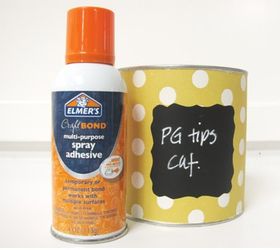
Apply a coat of spray adhesive to the back of the paper and place on the tin can.
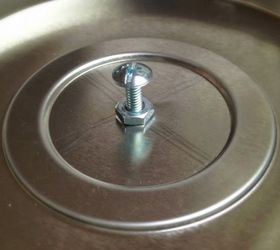
Use a nail with a similar width to the screw and hammer it into the center of the lid. Then attach the knob to the top with a nut screwed on inside.
Cut out your chalkboard label and place on the covered canister. Use the chalkboard pen to write on your label. If you like chalkboard projects here is another.
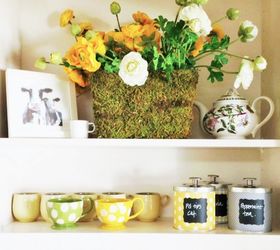
Here are my finished containers on my kitchen shelf. To read more about this project and many others, head over to my blog: www.happyhappynester.com Cheers, Janine
Original article and pictures take http://www.hometalk.com/14161221/diy-tin-can-containers-and-organizers site


Комментариев нет:
Отправить комментарий